

In our first house we used to have a breakfast nook area that we got our kitchen table for. It worked for the time being, but I was never really in love with the color and dark tones of it and knew that one day we were either buying a new one or refinishing it. Fast forward to when we sold our house, the kitchen table came along with us and again it kind of just worked for the space—so there it sat. I didn’t want to invest in a new table knowing that where we’re at now was always a temporary location. Just a lot longer of a temporary location than we anticipated.
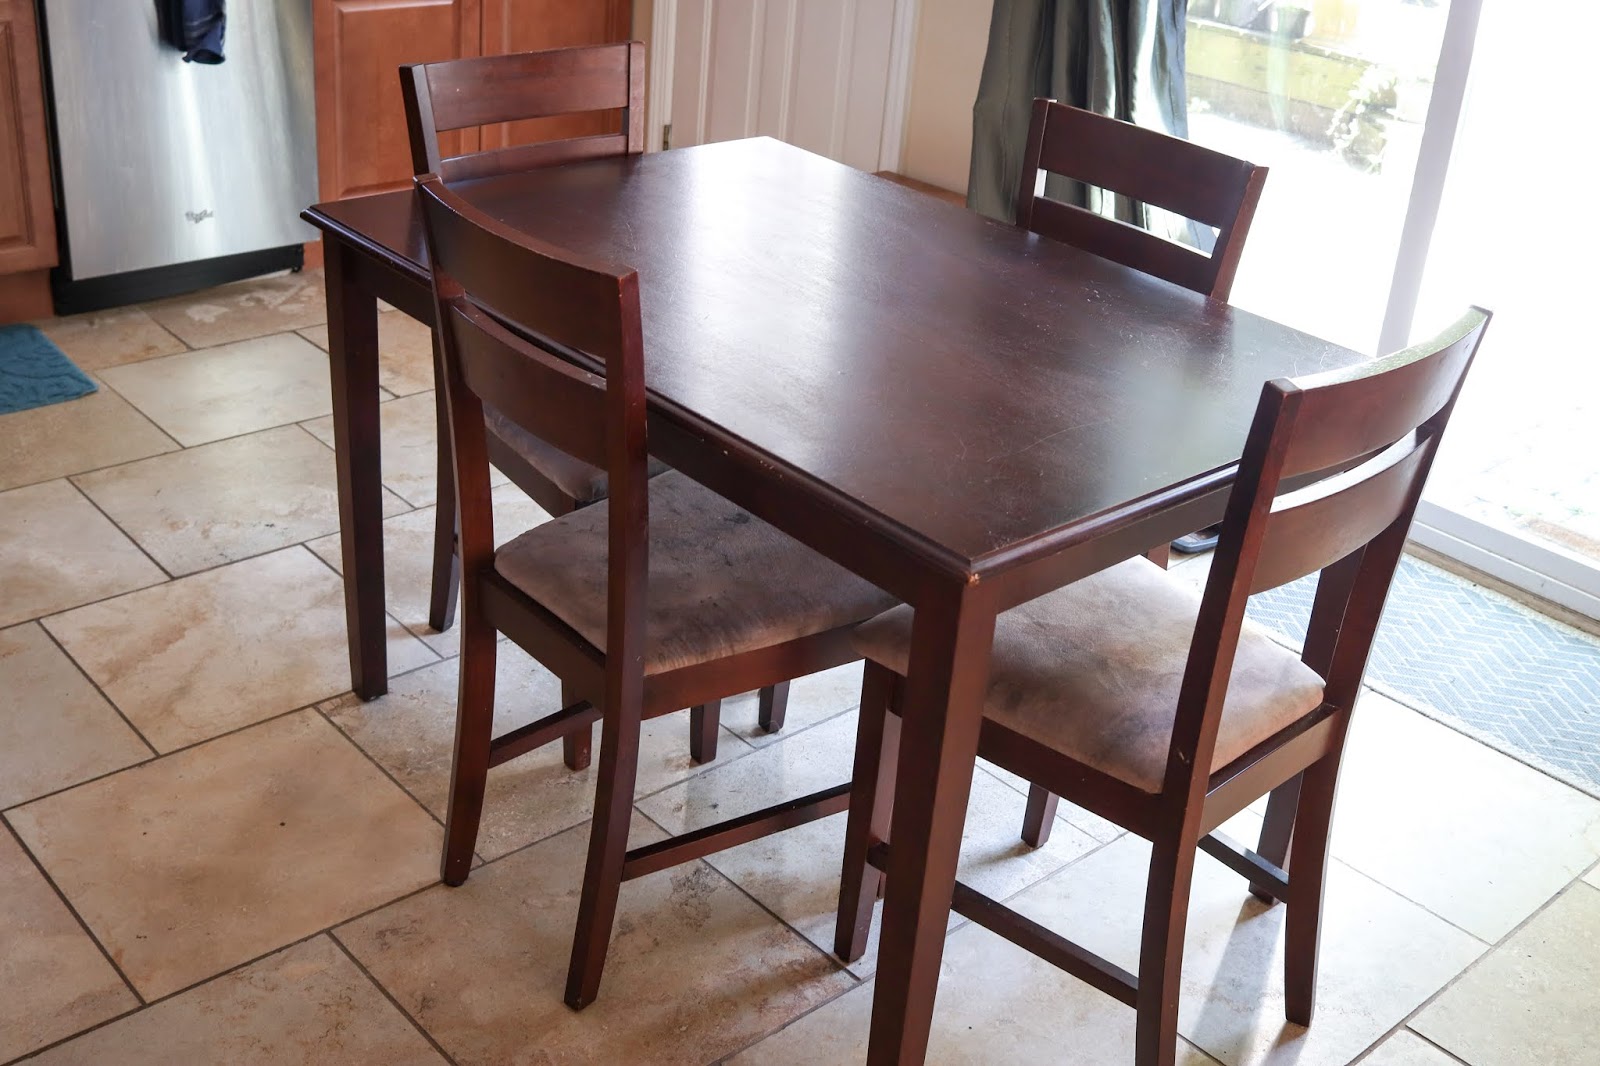
Call it nesting, call it getting bit by the creative bug, whatever it was, I knew I wanted our kitchen table to have a facelift. And it was time. After cleaning it off one morning, it was pancake day so hello sticky syrup, I saw so many scratch marks on it and those cushions on the chairs, oh my Lord did they need some help.
I did what most people do and turned to Pinterest to find out how hard or easy it would be to refinish the table. I can always appreciate an honest post that gives the ins and outs of things to help eliminate frustration. After reading several, I thought to myself, oh it’s on! We got this and can so do this.
I made a list of the products we would need and then made a trip to a few stores to pick them up. I have to say, I was actually a little annoyed when most of them didn’t have what we needed. Isn’t that what stores are for? I decided to order a lot of what we needed online to know they would be here and for the convenience. I’ll link all products below.
These sections contain affiliate links. Thank you for your continued support.
HOW WE REFINISHED OUR KITCHEN TABLE:
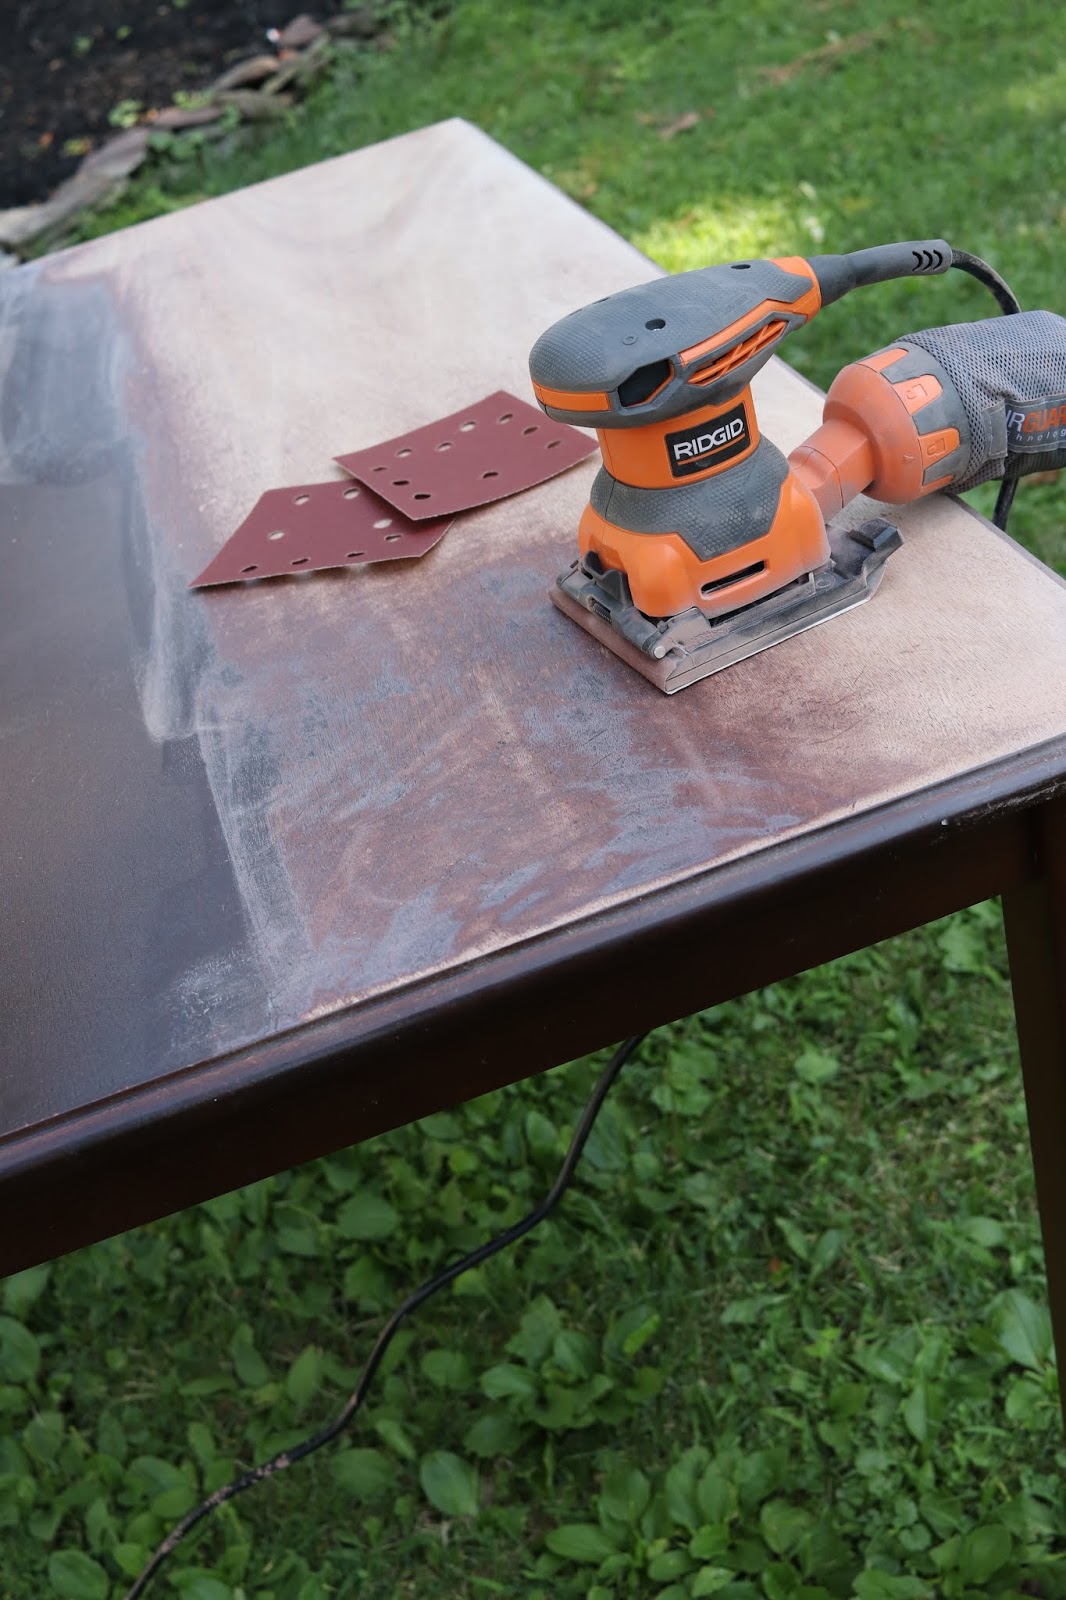
The first step we did was take the table outside and to get it prepped. This didn’t take much to do other than give it a quick wipe down and take the cushions off the chairs. We then used a hand sander starting with a lower grit size (80) and then working our way up and ended with a fine grit to finish. We knew with having two little ones we wanted to rough up the edges so it didn’t have a perfect look.
We roughed up the table legs and chairs with a quick sand because we knew we were painting them and not staining them. Since I’m pregnant and not supposed to be around the fumes, Eric really stepped up and finished the rest of this project.
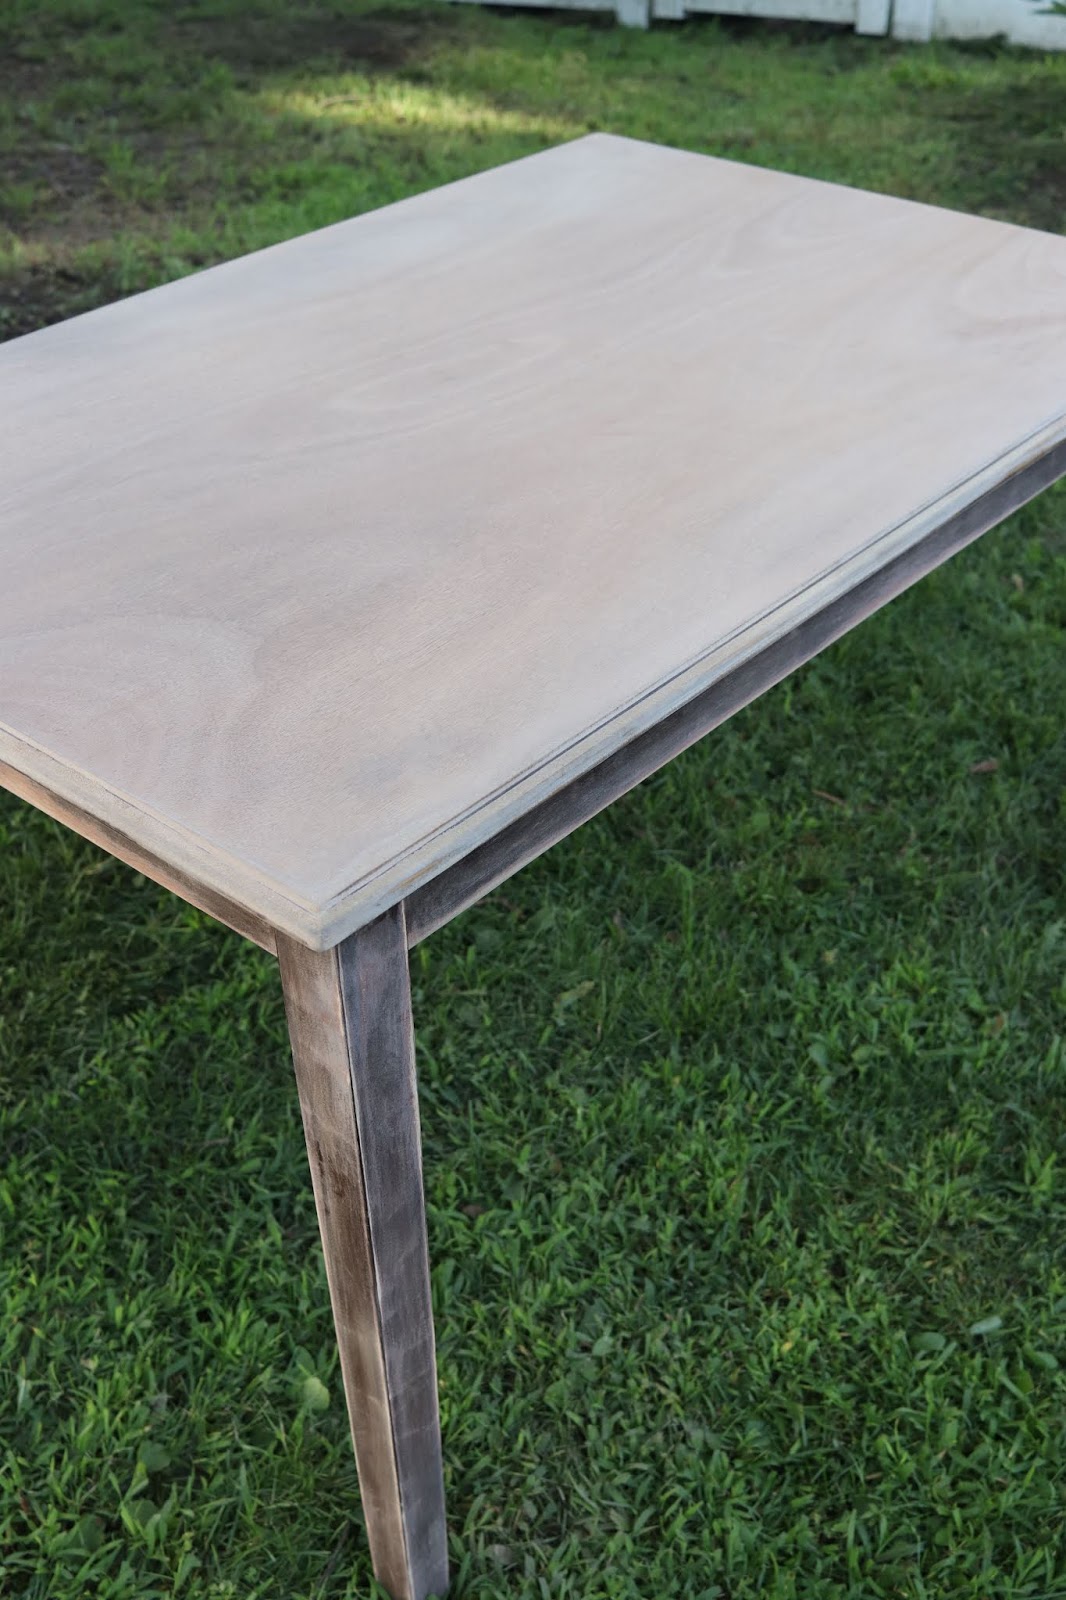
Next we stained the top of the table with this weathered wood look. We actually went with four coats of this until it got to a color that we were looking for. Now, it will all depend on the type of wood you are working with and what look you are trying to achieve that will determine how many coats to use. We did seal the table with this butcher block finish we got for our Airstream project that’s safe for food and easy to clean.
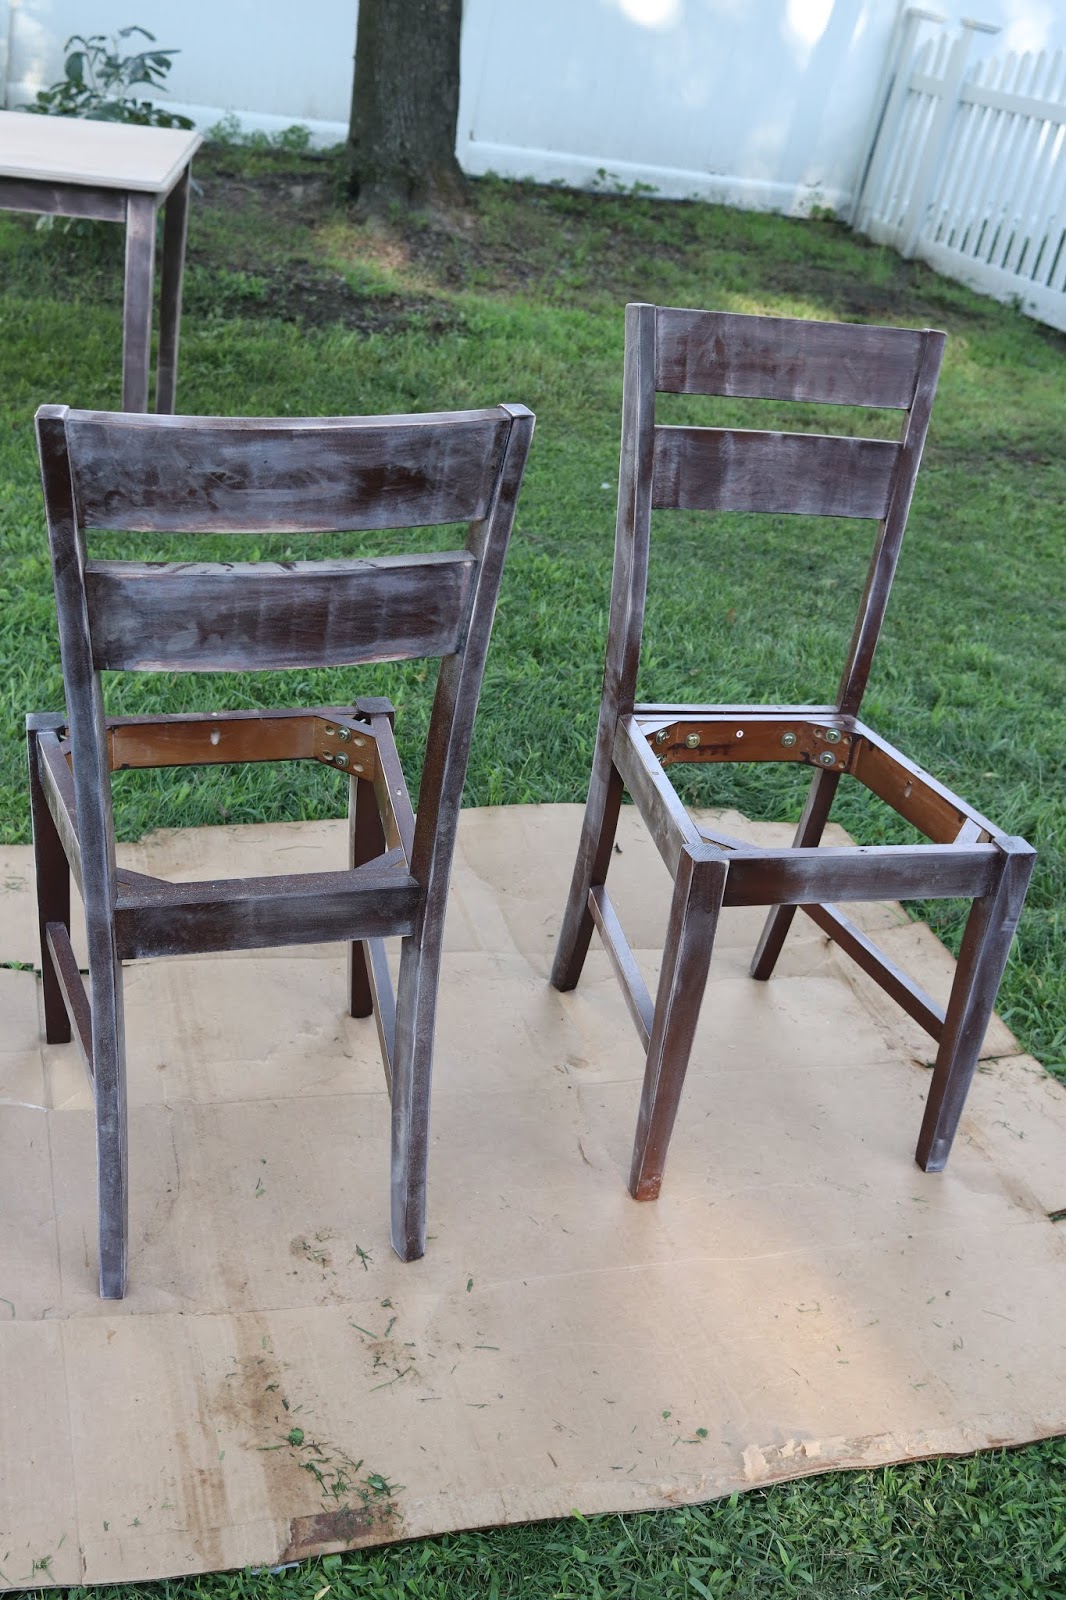
After the table top was dried Eric covered it with paper and tapped everything off. When reading a lot of other posts, everyone seemed to spray paint their chairs and table legs, so we went with this chalk paint and overall I love how it came out. What I would suggest though, if you are working with darker wood, consider priming everything before hand or actually buying a can of the chalk paint to physically paint. After this was all said and done, we went through almost 10 cans of spray paint.


The last thing we did was reupholster the chair cushions. We kept the original cushions, spot cleaned them, and then went over them. I picked up fabric that would be neutral enough to go with the table but also dark enough to not show every little thing. After we put the cushions back on the chairs our little project was complete.
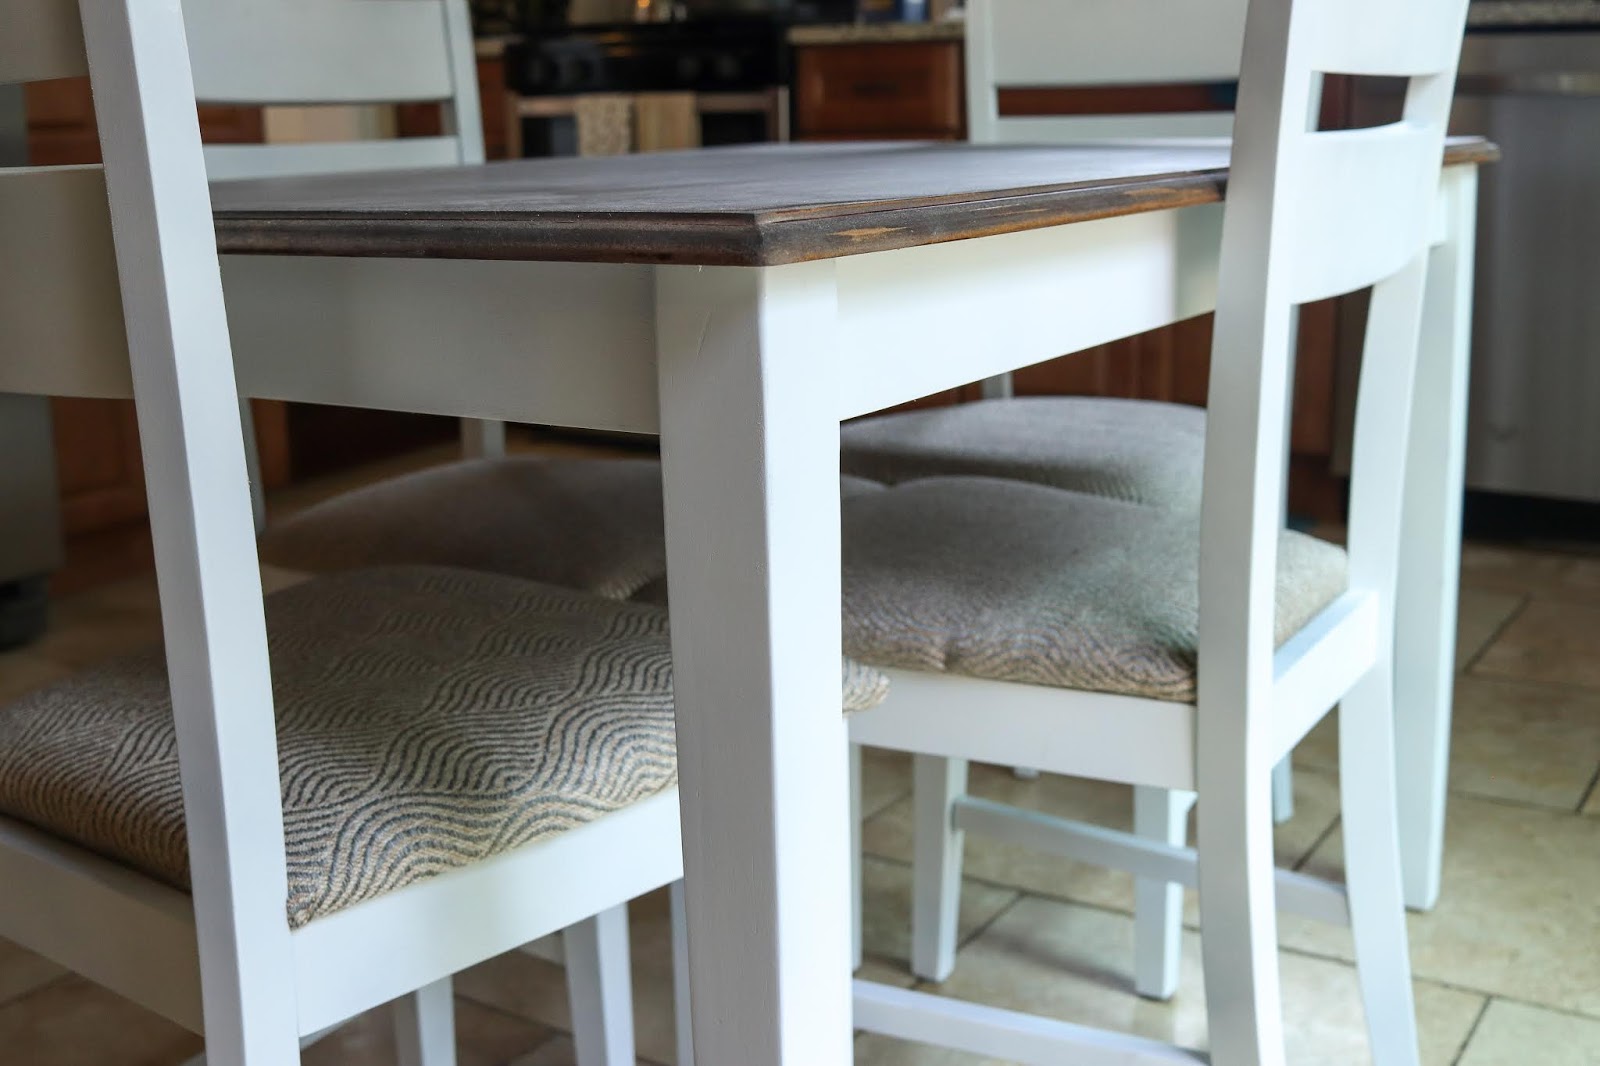
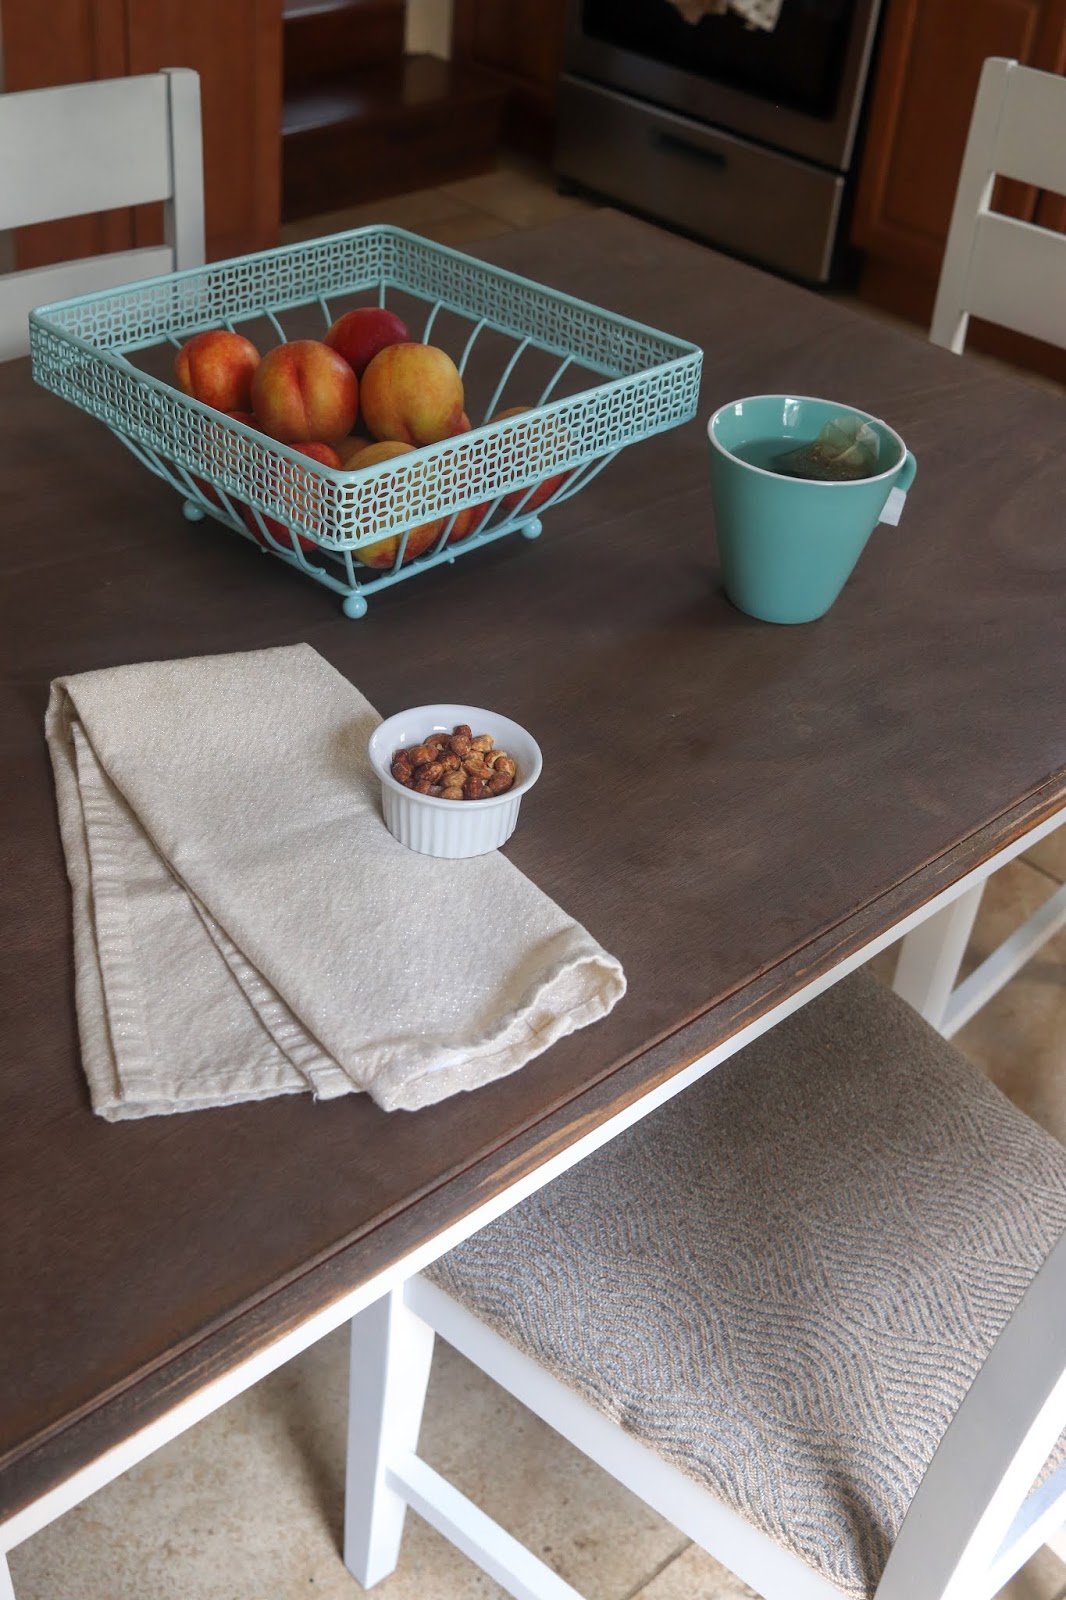
I’m really happy with the way it came out. It’s so amazing to see what a little paint and some hard work can do to really transform something.
THINGS YOU WILL NEED:
Here’s what you’ll need on hand to work on refinishing a table
Sand paper (a mix of different grit sizes to use)
Have you ever attempted to redo a piece of furniture and did it turn out like you thought?