Sharing an easy way to make your own DIY tassels and tassel garland
Do you ever search through Pinterest getting inspiration, pinning all the things, thinking, I can so do this! Yup, I’ve been there. Ok, maybe this was me just yesterday. And I’m sure that won’t be the last time it happens, either.
Full disclosure, I’m not the most crafty person out there. I’ll mix in some homemade DIY ideas here and there proudly next to store bought items. And really, most of it will come down to how much time I have.
I’ve had plenty of failed moments where something I thought would come out super cute ends up unrecognizable or not at all what I pictured in my mind. Why do things usually come out sooo much better in my mind???
I’d love to say that you’ll nail this DIY tassel garland the first time (totally doable by the way). I mean, if I can do it, I’d like to think that you can too. So here’s the thing, if you’re feeling crafty and looking for a little DIY (or you want to pin this for a rainy day) for tassels or tassel garland, I will try to be as descriptive as possible in hopes that you find this useful and come out with some really cute tassels.
So here we go, sharing a step by step for how to DIY tassel garland…
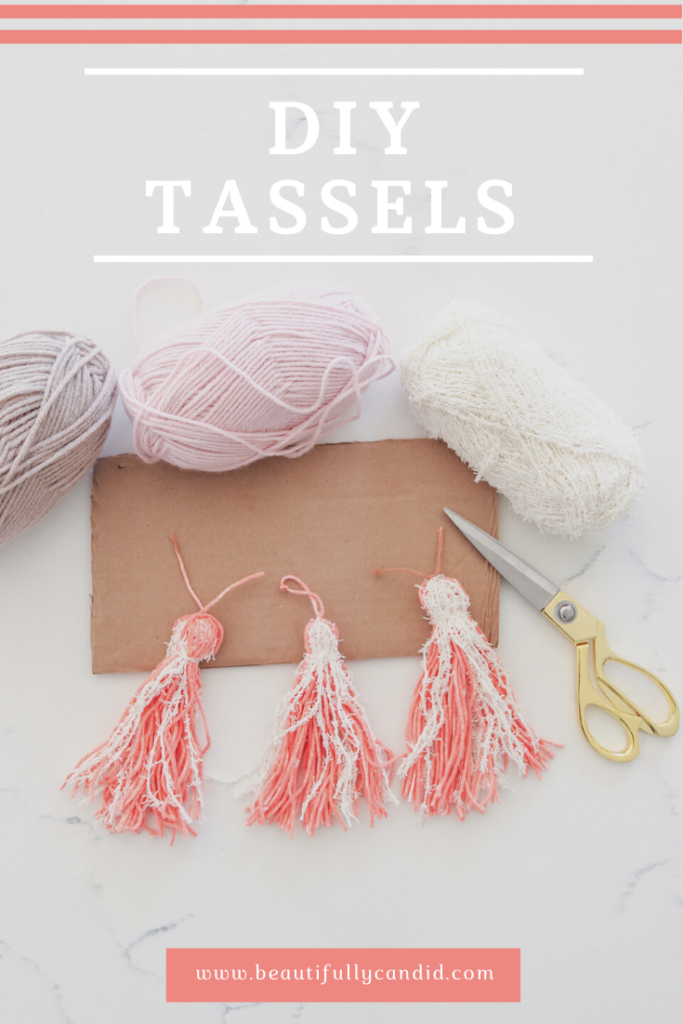
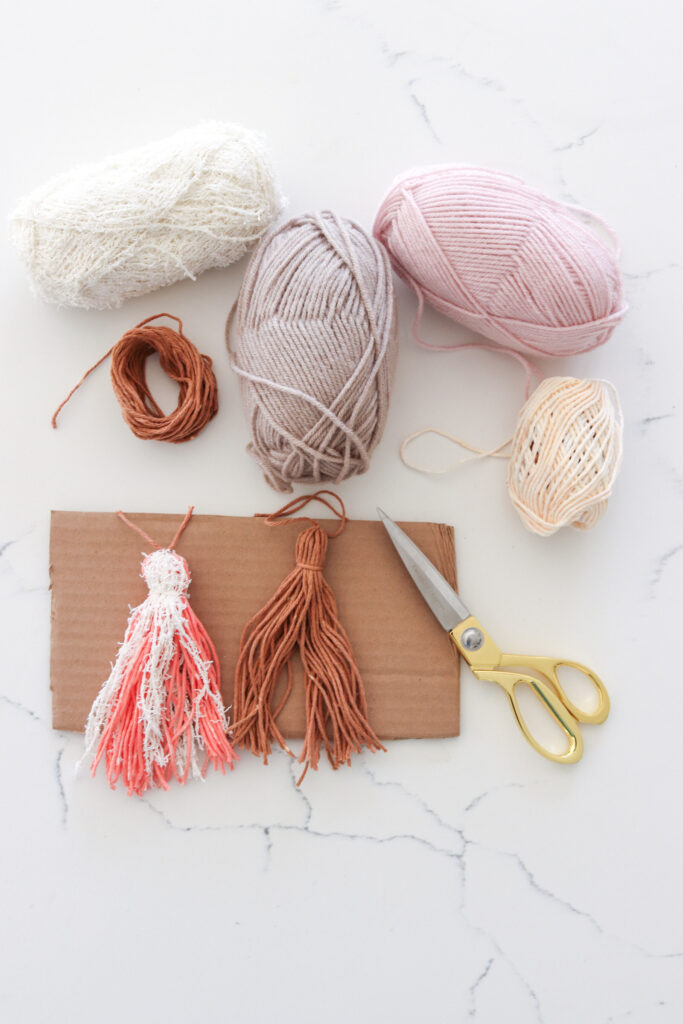
SUPPLIES:
Scissors
Yarn
Cardboard
STEP 1:
Gather your supplies and choose the color yarn you’ll want to work with. I picked up my yarn from the dollar tree and also Michaels. I wanted to mix in two different textures to give it a different look. You can easily use one color or decide on several.
STEP 2:
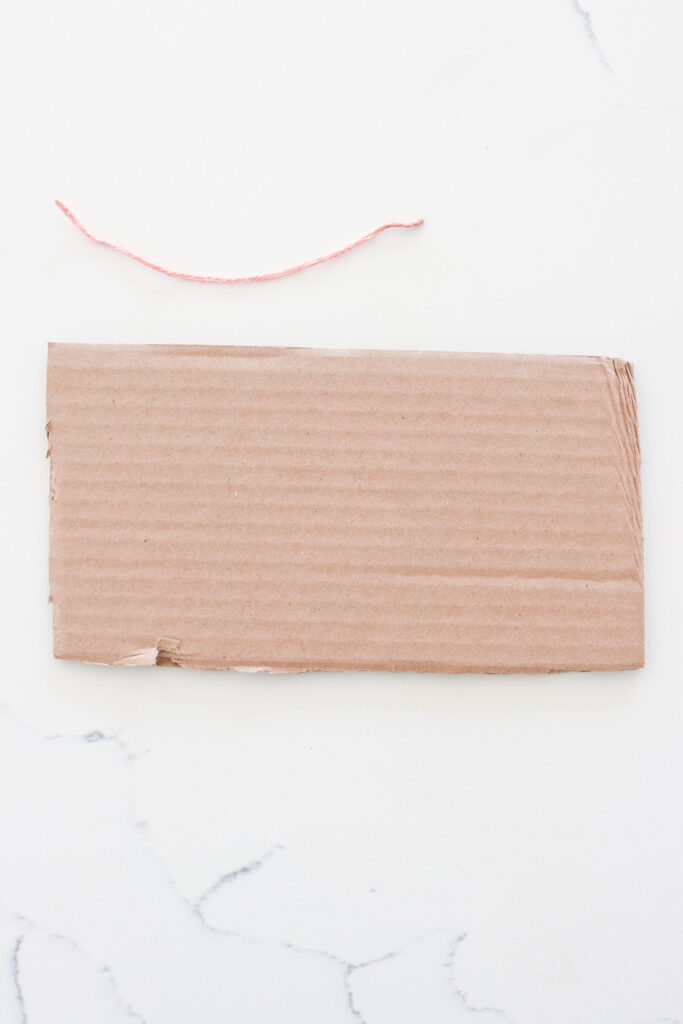
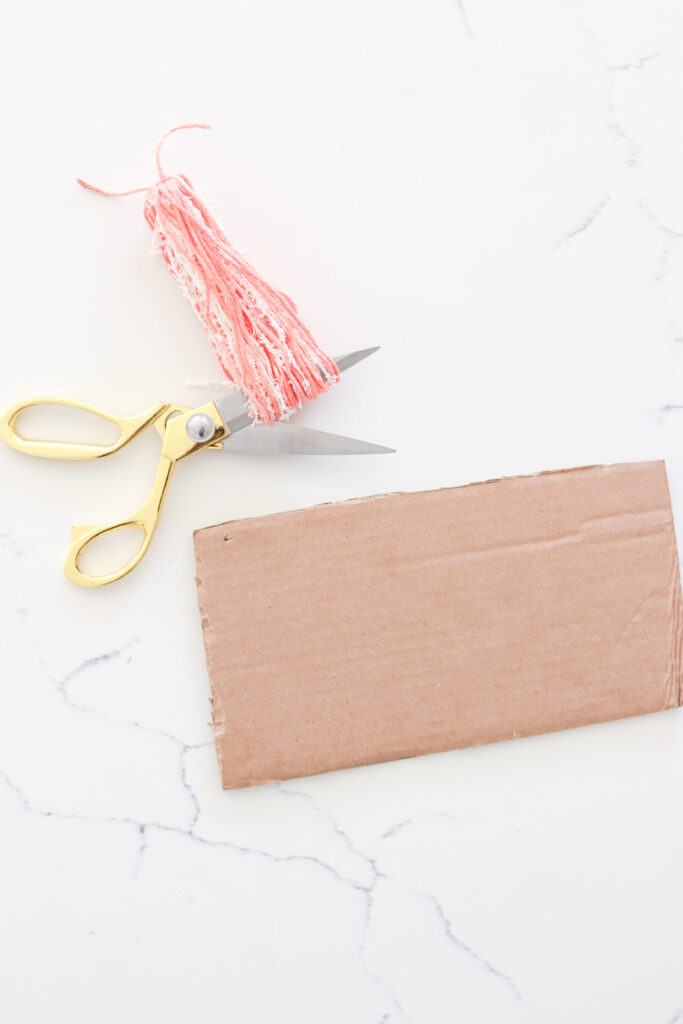
You’ll need a piece of cardboard. I recycled this from a Target box, or maybe it was Amazon. Either way, they make frequent stops at my house. So, where were we? Oh yes, you can cut the cardboard down to the size of how long you’d like your tassels. Mine were about seven inches.

STEP 3:
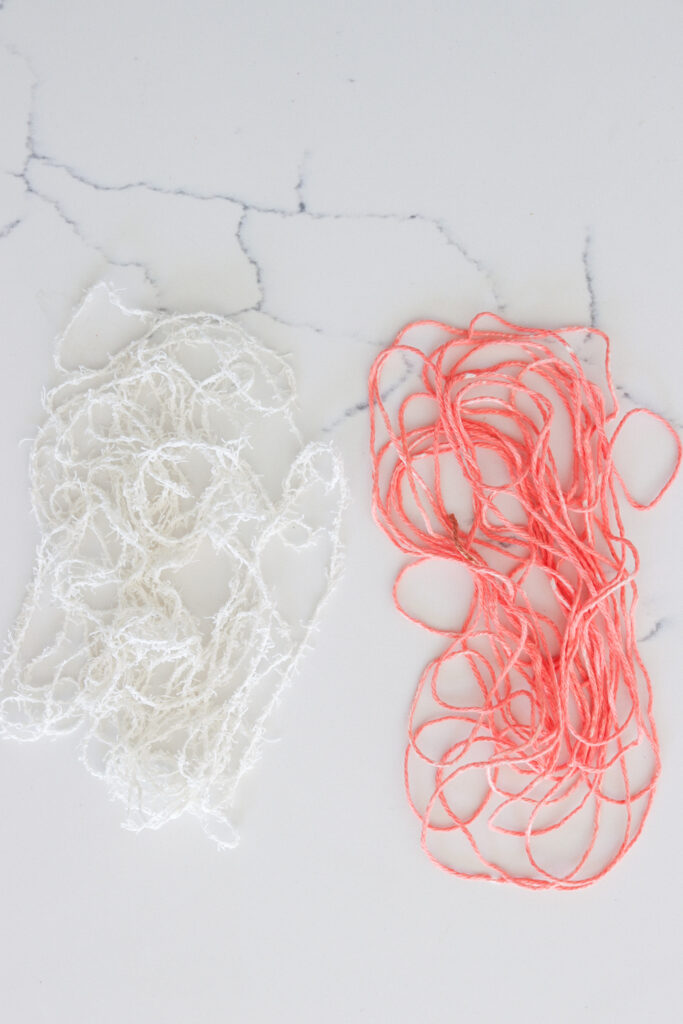
Depending on the look of how you want your tassels, you’ll need to figure out how much to cut. I cut about a yard for each color.
STEP 4:
Cut a piece of yarn about 5-6 inches. I did this length so I had extra to trim once I tied it. You’re going to place it at the top of your cardboard. This will eventually be the top loop of your tassel.
STEP 5:
Take your first color of yarn and begin to wrap it around the cardboard. Remember to leave the piece you cut from step 4 at the top.
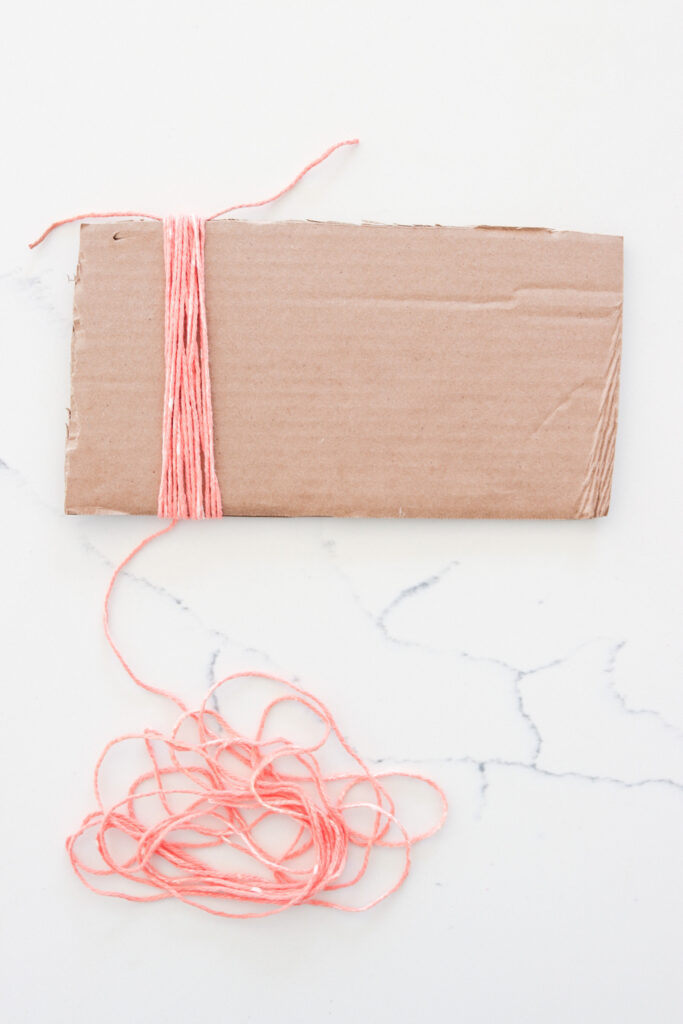
STEP 6:
If you decided you want to add in a different texture of yarn or color, you’ll begin to wrap that in about half way through.
STEP 7:
Once you have wrapped in your second texture yarn, you will now finish wrapping in your original. It should look similar to this.
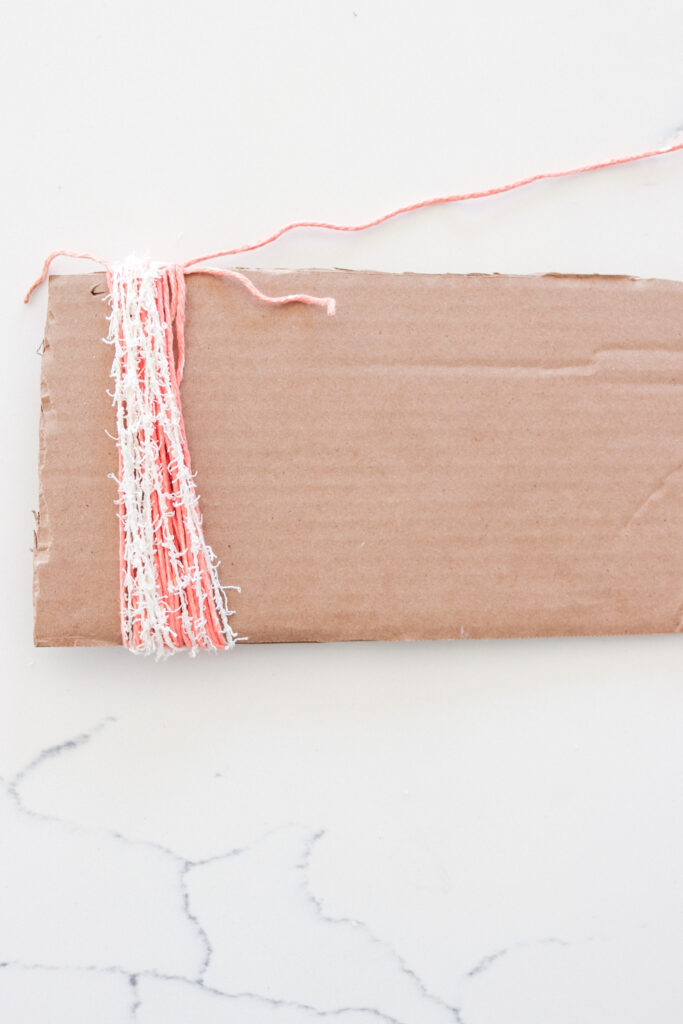
STEP 8:
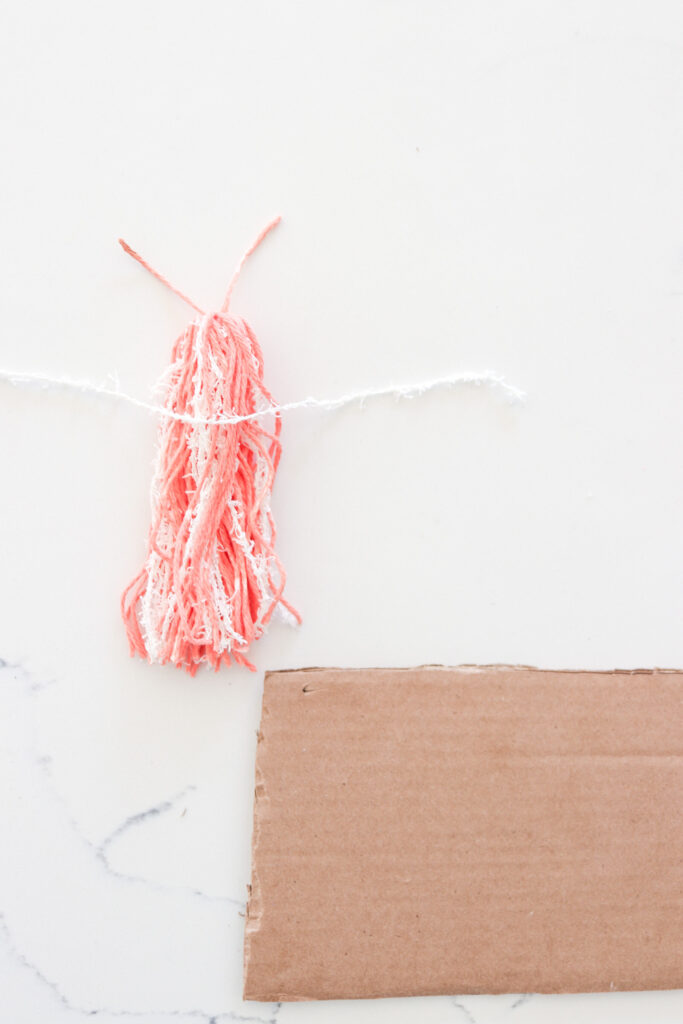
Once you are done wrapping, you’ll slide it off the piece of cardboard and tie a knot with the top piece to hold it all together.
STEP 9:
Taking your scissors, you will now cut through the bottom loop. This will create that fun tassel look. You can also trim any stray pieces.
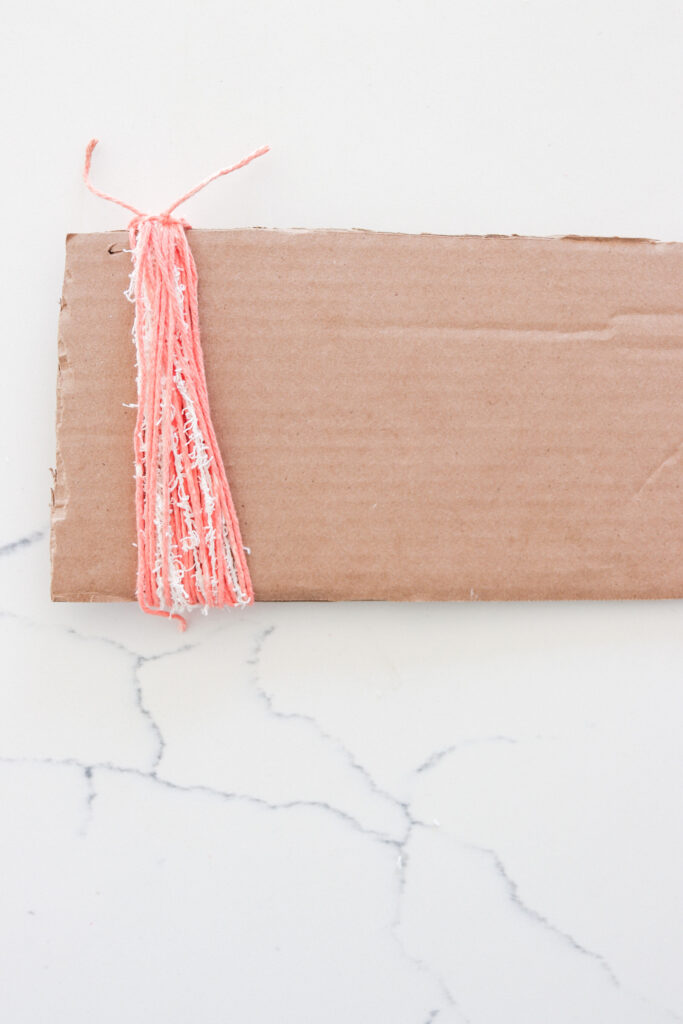
STEP 10:
You will now cut another piece of yard to wrap around the center of your tassel about an inch down from the top. Once you have done that you’re almost done.
Head back to the top piece of yarn and either tie that to make a loop or leave it untied in a knot until you secure it where ever you are going to hang this. If making garland, you can simply use a pice of yarn or I love the look of added it on to wooden beads.
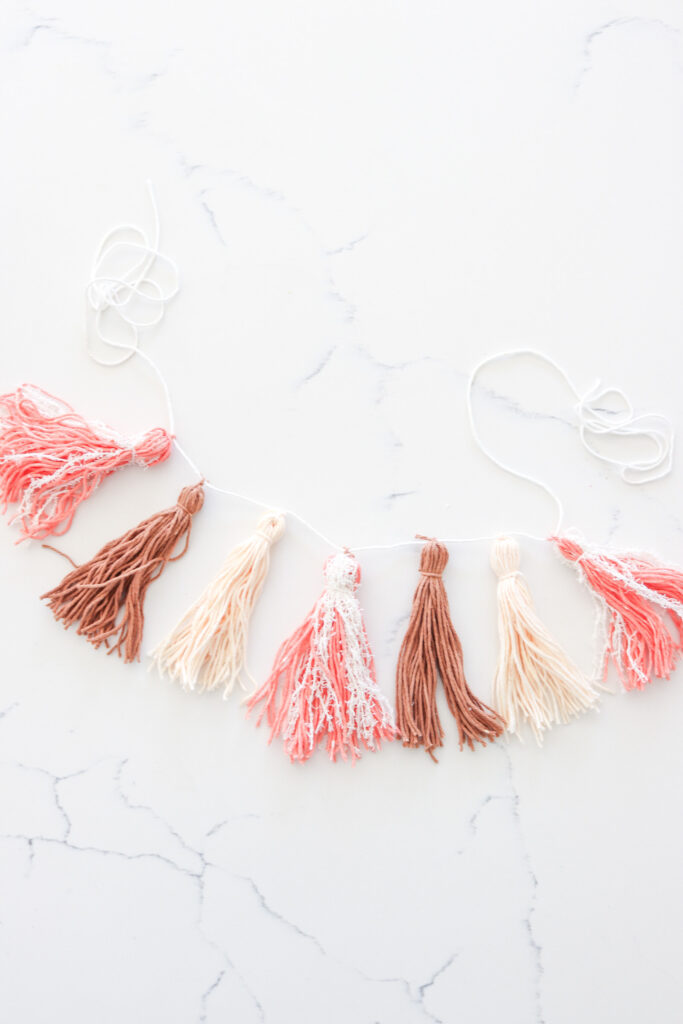
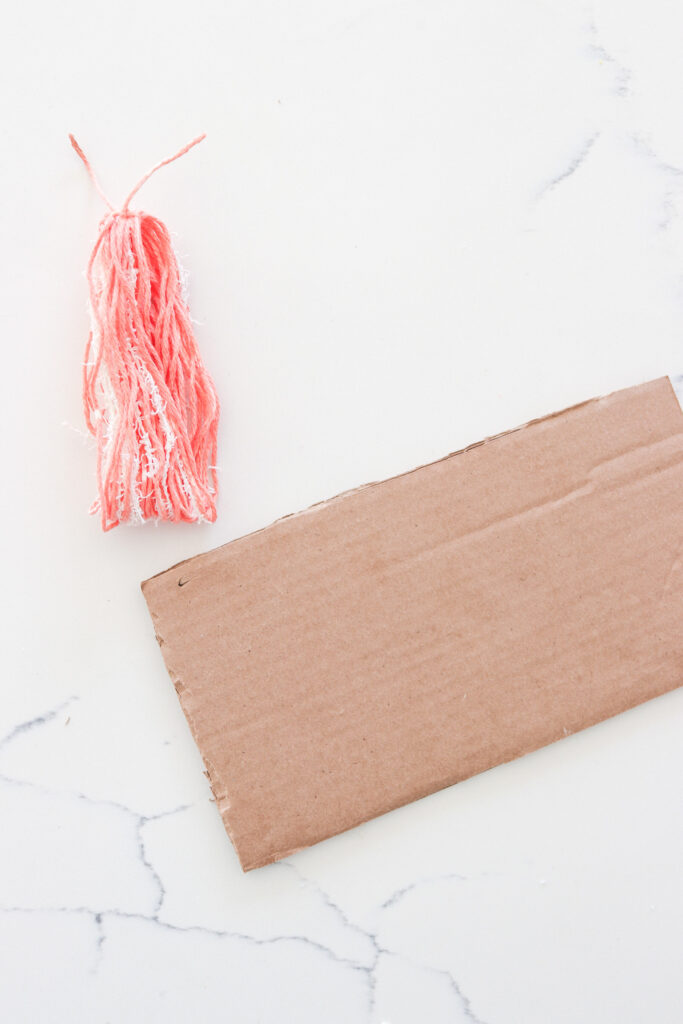
The fun part about making these is they can be used several different ways. Some great ideas are obviously, garland, but they make great decor for parties and even a fun added touch to hang from your beach bag or keychain. Wanting to get even more creative, how about instead of a bow adding them to your next gift wrapping. You can have as much fun with these as you’d like or stick to keeping it traditional.