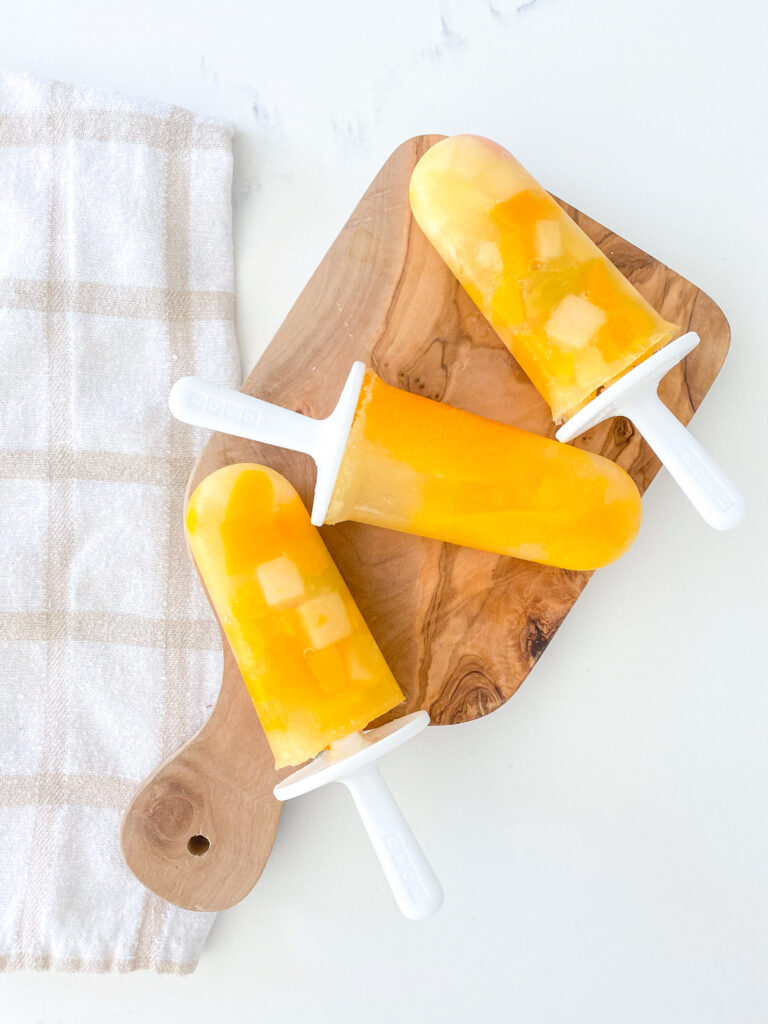
A quick and easy way to make homemade frozen ice pops with canned fruit.
This post is sponsored by Cans Get You Cooking. All opinions remain my own.
One of the things I’ve learned during this time at home with my family, is that I don’t need to master it all. I think most of us can relate that some days have been better than others and we are still on a continuous learning curve trying our best.
There are days when I am ready to bake up a storm and others I am thinking about the quickest meal that will still provide nutrition to my family.
With our weather finally getting nicer we’ve been enjoying more days outside, meals outside, and thinking about some of those staple refreshing treats that we love during this time. When I think of warm weather days, I think of a refreshing drink, cool treat, and all things fruity.
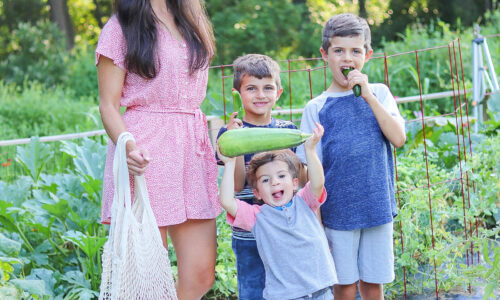
It’s been great to see the boys wanting to help me in the kitchen more. Their excitement to get involved and wanting to try things they help with has been great to see.
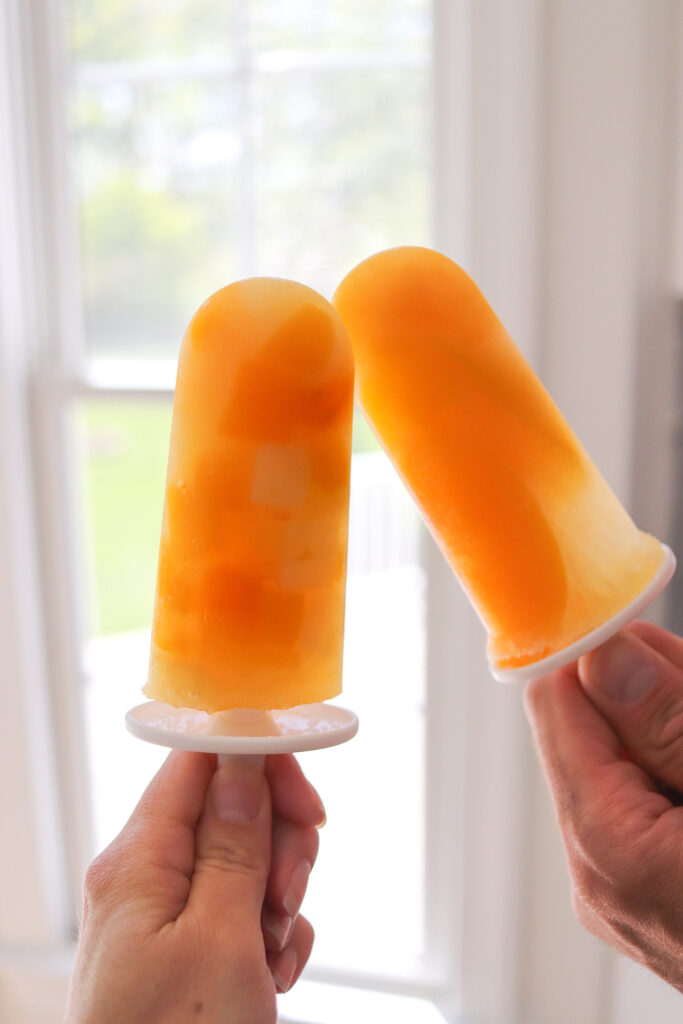
We purchased a classic ice pop mold last year and couldn’t wait to break it out again! We’ve been limiting our trips to the grocery store and looking for alternatives like grocery delivery. One of the great things we’ve been taking advantage of is canned foods.
Some of you might remember I had the chance to visit a cannery to see how the whole canning process is done. I love how canned foods go from field to package within 4 hours verses fresh produce that can take 24 days from field to stores. Canning locks in nutrients at the peak of ripeness just hours after harvest. Cans also given us the chance to have year-round access to seasonal fruits and vegetables with freshness and flavor without the need for preservatives or additives.
Reaching for some of our favorite canned fruits was the perfect quick and easy way to make some ice pops. Cooking with canned foods cuts down on prep time, which means less time in the kitchen for me and more time with family. I loved how simple it was to get the boys involved without a ton of mess and extra clean up. They also loved being involved and helping to pour the fruit into the ice pop molds. After a few hours in the freezer they were ready to be enjoyed.
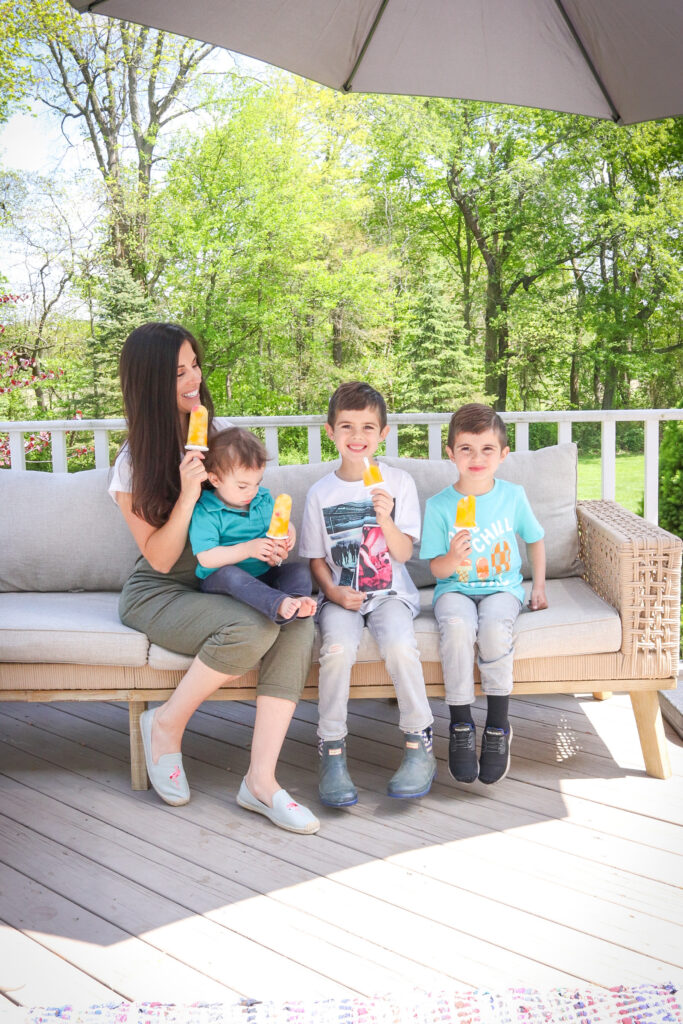
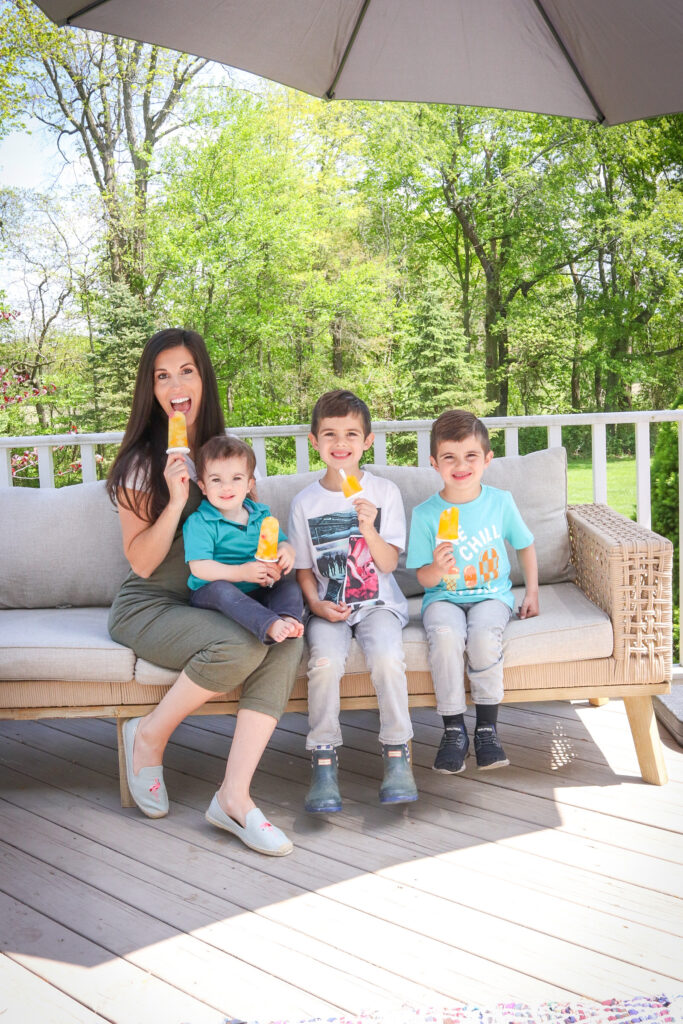
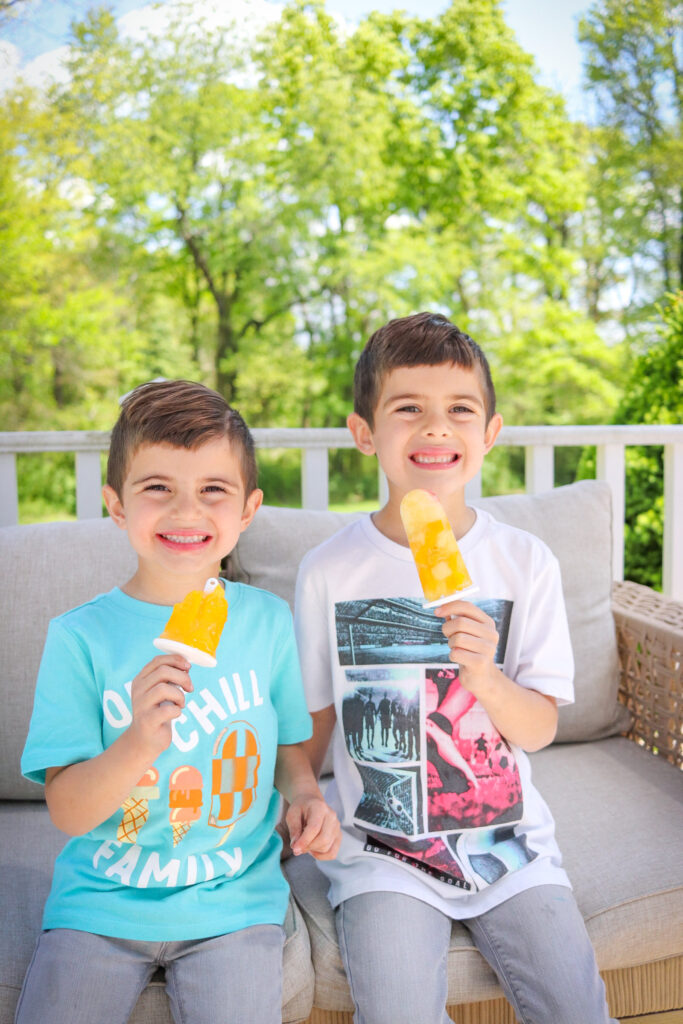
While we were waiting for the ice pops to freeze we took advantage of playing outside together. It was fun to hear how excited they were to try them and would ask if they could go check to see if they were ready yet. Once they were, they each got to pick which one they wanted to try and sat out back to enjoy them.
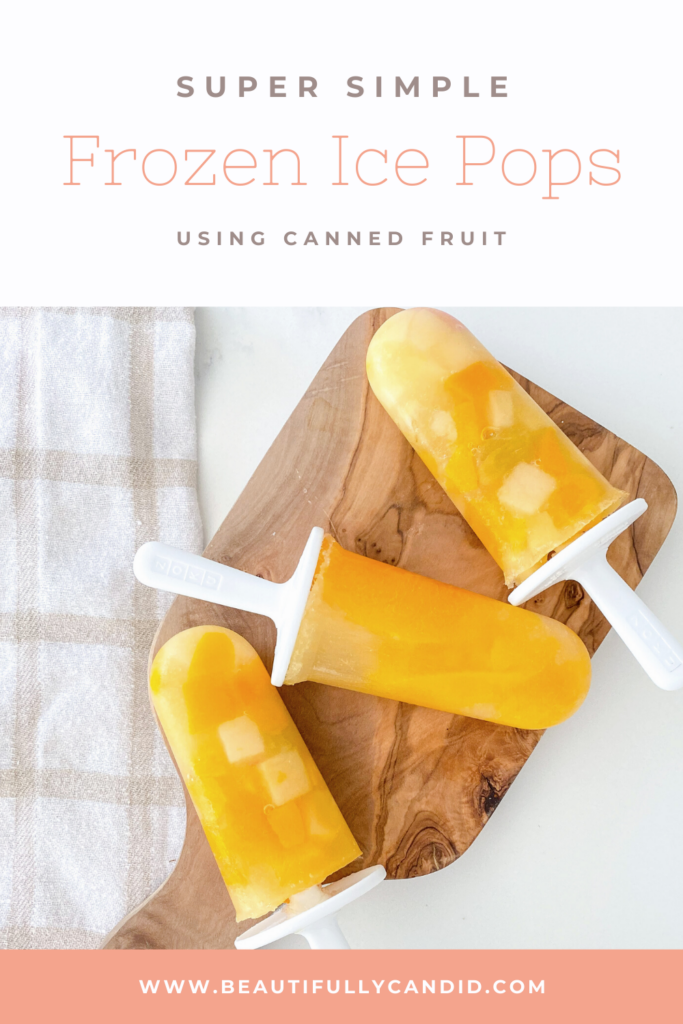
Here’s What You Need To Make Your Own Ice Pops
Ice pop mold.
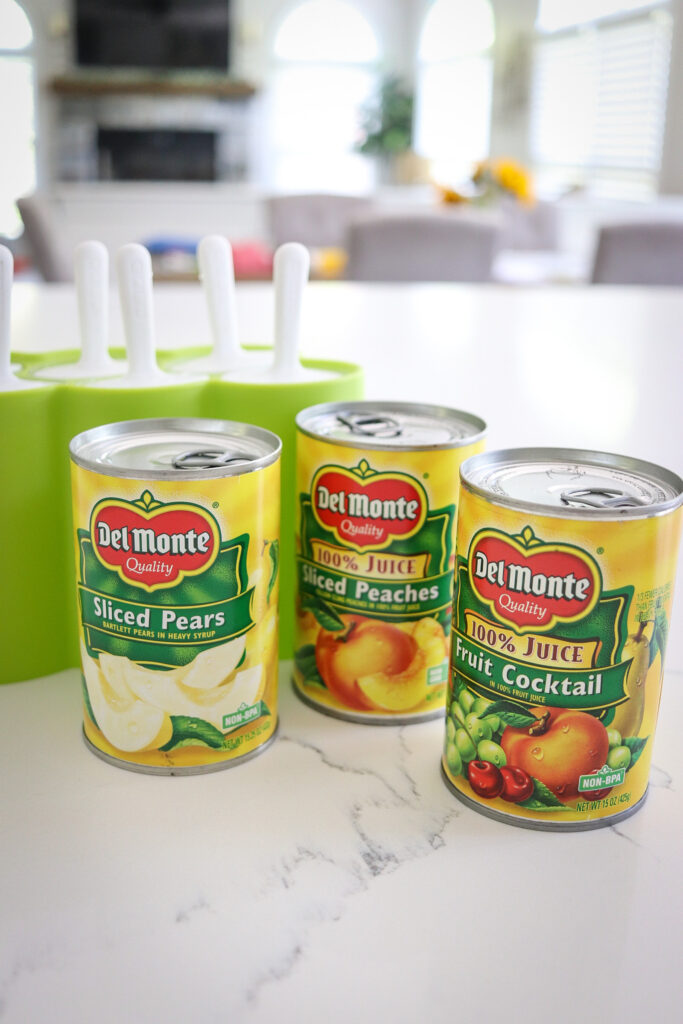
1 or 2 cans of your favorite canned fruits.
Some ice pops we made were with fruit cocktail, sliced peaches, and sliced pears. We already have a can of crushed pineapple that we will be trying next.
One can made four ice pops with our particular mold, but the amount will vary depending on different factors. We did not have to add anything else to them and used the extra juice from the cans.
Once your ice pops are filled and properly secured with your handle or stick, place them in the freezer for approximately 5 hours or until completely frozen.
It’s that simple!
I hope you enjoy this refreshing treat and super easy way to get your kids involved with helping. Be sure to check out even more ideas for easy and comforting recipes at Cans Get You Cooking.


